

How To Snorkel an ATV
This guide covers the basics of snorkeling a four wheeler, and provides links to model-specific guides and to snorkel kit manufacturers. The purpose of a snorkel is to allow the ATV to be submerged in deeper water than is allowed by the stock configuration. The snorkel does this by elevating the position of ALL of the intake/breather hoses.
This guide is generic in nature, and can not be used as the only resource for snorkeling your ATV. Even the most diligent efforts will not make your ATV waterproof, and you will likely experience some problems that are a direct result of submerging your ATV. Also, note that attempting to turn your ATV into a submarine will void your warranty.
It is critical to ensure that all intake/breather hoses have been elevated, or you could end up with some major repairs to do. It is not uncommon to see someone with twigs and sand in their machine because they didn’t snorkel a crankcase or some other breather hose. It may take a little extra time to research the locations of all your hoses, but it takes even longer and costs a lot more to find the hoses by field testing (submerging it and praying you didn’t miss one).
The first step in snorkeling your ATV is to decide whether to purchase a pre-made snorkel kit, or to create your own custom snorkel. This decision usually comes down to how much you want to spend and how quickly you need to get the job done.
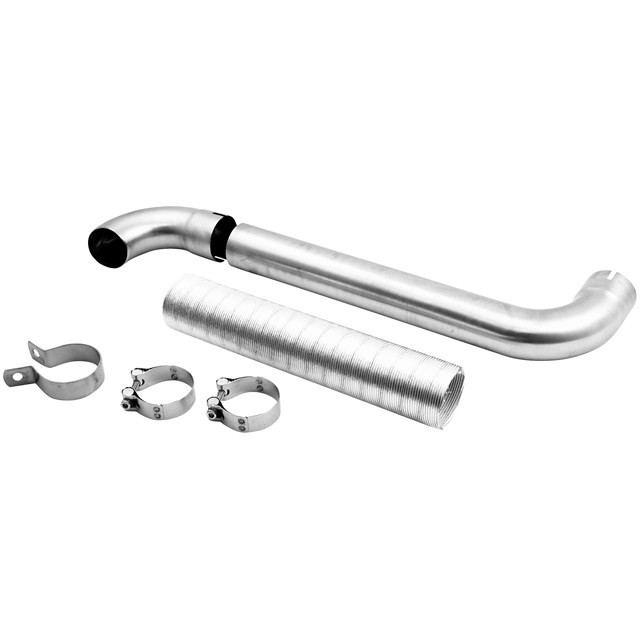
Find some Pretty Awesome Snorkels for Swamp Runs here (**not for full water submersion)
Pre-Made Snorkel Kits
Several companies have developed snorkel kits for specific ATV models. These kits SHOULD include all the components necessary to snorkel your ATV, but you SHOULD verify this first.
When purchasing a snorkel kit you should:
- Verify that the kit does not exclude certain components. Some manufacturers may not include hoses for all breather lines, or may exclude certain hardware. Review the custom snorkel section below for a list of components that need to be considered.
- Make sure the kit is designed for you exact year and model.
- Search the web for reviews to compare your kit options. If someone had a bad experience with a particular kit they will probably write about it.
- Compare the cost of the kit to creating a custom snorkel.
- Ensure that it comes with installation instructions. Consider requesting the instructions prior to purchasing the kit to see exactly what is involved in the installation.
- Review the body modifications required for the kit. Most snorkel kits will require you to cut holes in fenders, which will affect your resale value, and limit your ability to make changes.
Roll-Your-Own Snorkels
Creating your own snorkel is typically the cheaper route, and may be the only option if you need the snorkel right away. Most of the parts needed can be purchased from local hardware and auto parts stores.
Typical components:
- Air Intake– This is the most critical component of your snorkel.
- Most ATV models will require you to cut a hole in your air box to insert a hose that runs to a higher elevation, such as under the handle bars or to a PVC pipe cut through the fender(s).
- Depending on your configuration, it may be necessary to run two air intake hoses to allow enough airflow for proper engine operation.
- You may also need to adjust the air/fuel mixture due to the changed air flow.
- The hose diameter needs to be at least as large as the current opening on the air box, but should be slightly larger to account for the added restriction of the longer hose length (don’t make your machine breathe through a skinny straw).
- Air Box- After installing the air intake hose, the air box will need to be sealed. Many ATV’s have a drain hole in the bottom of the air box. This hole must be sealed or a one way check valve must be installed to prevent water from entering the air box when it is submerged. The air box lid may also need to be sealed with silicone. Marine grease may be placed around the lid instead of silicone to allow for easy removal, but this method usually does not create a perfect seal so you may need to check for water periodically.
- Belt Housing- A belt housing hose needs to be ran to an elevated position on belt driven ATV’s. Many models have an intake and exhaust on the belt housing that will require snorkeling.
- Crankcase Breather Hose- The engine crankcase has a hose to allow it to “breathe”. This hose may already be routed to the air box, and if the intake hose was ran correctly you may not need to modify the hose route.
- Carburetor Breather and Fuel Overflow Hoses- The carb breather hose will need to be extended to an elevated position to prevent water from entering the engine. It is possible to run a main breather hose that runs to the same elevation as the intake hoses, and tie all of the breather hoses into this main hose. The fuel overflow hose may already be equipped with a check-valve, which would not require any extra work. If not, you can install a fuel check-valve, or simply plug the hose.
- Other Breather Hoses- There are several other breather hoses that will need to be elevated. Common parts with breather hoses are brakes, front and rear differentials, fan motors, fuel tank, and power steering pumps.
- Electrical Protection- All electrical connectors, including the spark plug boot, should be treated with dielectric grease (aka. bulb grease) to prevent corrosion and short circuiting.
- Recoil Starter- ATV’s that are equipped with a recoil starter (pull string start)will usually leak or begin to rust at this location. There are products available to seal off the recoil starter, but they take away the ability to use it. The design of these products is not extremely complex, and can be replicated by the serious do-it-yourselfer. Note, that you can leave the recoil starter on if you do not plan on using your snorkel kit very often, but it should be cleaned and inspected regularly.
Tips:
- It is important to choose a strong yet flexible hose that can withstand the temperatures of the engine, since most air intake routes will require the hose to be ran near the engine. Marine exhaust or radiator hoses are recommended, but it is not uncommon to see spa hose used (see related products below). Be sure to choose a hose that is fairly rigid or designed for suction, or you could end up with severally reduced airflow due to a collapsed hose.
- Check, Double Check, and Triple Check all seals and connections, especially at the air box.
- Use threaded fittings with Teflon tape or pipe dope where possible. Otherwise, use rubber couplers and heavy duty stainless steel hose clamps.
- Risers are solid pipes extending up through the front fenders. If using risers:
- Choose a thick walled pipe such as schedule 40 PVC
- If possible, buy pipe in the color you want instead of painting it. Paint will scratch easily.
- Install flexible joints under the fenders to allow the pipes to bend. This will help keep you from destroying the snorkel if you roll your ATV or run under low hanging objects.
- Account for the Venturi effect, which will cause a reverse suction on risers exposed to air rushing across them. The best way to prevent this is to install an elbow on the risers that points forward.
- You may want to relocate the air box or replace it with a similar component if the stock location doesn’t give you many options for routing the hose. However, it’s not recommended that you discard it completely, or move it too far from the engine intake.
- If possible, install a screwed connector on the air box hose connection, as opposed to massive quantities of silicone.
- Consider relocating the radiator to a higher location on water-cooled machines.
Find some Pretty Awesome Snorkels for Swamp Runs here (**not for full water submersion)
Credit: smartatv.com
For more information about customizing your bikes, motorcycles, tons of the best OEM brands, personal watercrafts, atvs, parts, accessories, or maintenance tips please see our sponsor at: PartsPitStop.com .
#partspitstop #ATV #howto #manly #swamplife #doityourself #outdoorlife #driveeverywhere #DIY #oemparts #aftermarketparts #oemaccessories #aftermarketaccessories
